Sunday, 25 February 2018

Continueing strip grinding and more

Today we almost finished the strip grinding. Just a few strips to finish next time.
However I have done a lot of other preparations.

1. Redesigned the height adjustment of the router table. Worked OK Before, but a little redesign of the height adustment screw mechanism makes it easier to adjust height. Also made a locking unit to safely lock the height after proper adjustment.

2. Made the final clamps we will use when glueing strips.  Special clamps to secure strip to forms and also clamps to hold the strip firmly against the previous strip. About 70 of each. (for making my Solo Day and also my friends double kayak and small solo canoe)


Clamps to hold strips

3 Measured my old strongback and found that it had warped into both a banana and a propeller shape. Construction was a simple board ontop of 2 planks. Went into the recycling bin.
So... Just make a new, better one. This time I made a telescopic box construction. 2,5m-4m (8´-13´). Undercarriage on lockable Wheels.


New strongback

Forms will be clamped to the strongback by a clamp made of long threaded screws with a crossbar and wingnuts at the bottom. Easy adustment and no screws in the strongback. There will be a submerged track in the center of the strongback where I will put a thin string to get an exact centerline.


Form mounted by a clamp


Sunday, 11 February 2018

Grinding of strips started.


Today I and my friend who is building both a kayak and a canoe started with the grinding of the strips. We have a total of about 256 strips. For my Solo Day I will have 96 strips (which is probably a little more than reqired).
Router and router table worked perfectly with exact grinding. Not one single failure.
3 hours later all strips were grinded on the bead side. Next time we will make the cove side.


Router table ready for work.

Grinding strips


Thursday, 8 February 2018

Modifying router table

Have spent the week with rebuilding my cheap universal router table. Have replaced everything on top of the table. The plastic featherboards is now replaced  by spring loaded rollers to guide the strips to sit exactly against the router bit.

Spring loaded rollers to keep strip in place

Also a guide to stear the strip when inserted

Preparing for routing the strips


Next step is to grind the strips to get a cove and bead profile. This is for making tight joints between the strips. I have to modify my router table with better guides so the strips will be exactly grinded.

Router bit

Bead and cove

Tight joints 


Thursday, 1 February 2018

All strips sawn

All planks ar now transformed into strips 17,5x5mm. The strips from every plank are sorted into a port and starboard bundle to get the same pattern on port and starboard side of the canoe. Also the inner and outer gunwales and some 2mm strips for laminating curved lipping for the short forward and aft deck were sawn from a dark cedar plank.

Strips sorted and bundled

A large part of of the planks were transformed into sawdust :)

Some sawdust

Saturday, 20 January 2018

Sawing strips


 Today I started sawing the strips. I use  a hand-held circular saw with a fine-cut  thin blade and a homemade cutting support. Strips are 5.1 x 17.5 mm


Friday, 19 January 2018

Bought som planks

Were in the wood store and chosed and bought planks. Red cedar 145x17,5mm 7 pcs 4,90m
Will soon be transformed into 480m 5x17.5mm strips.
In addition, a plank of 145x45mm 4m to make paddles


Planks delivered to building site.


Saturday, 6 January 2018

Templates ready

All 15 templates are now ready. First rough saw a few mm off the line. Then sanding to exact measurements


Rough sawing


Sanding


All templates ready


Wednesday, 3 January 2018

Templats under construction

Bought a 12mm board, so just draw the cardboard pieces on the board and cut it out.


The contour is transferred from the cardboard


The board template ready for cutting


Monday, 1 January 2018

Bought the plan

 
Bought drawing via Ashe's website  Downloaded the PDF and printed it. 4 sheets with 8 A3 prints each. 32st A3:s to be merged with 100% precision. It is important that the alignment of the templates is correct. Both in scale and that the joints are precise-

All lines are transferred using a needle to an underlying carton sheet. Approximately 150-300 sticks per template.

The points on the cardboard sheet are connected with pen and still hand. Then the clipping path is cut out.

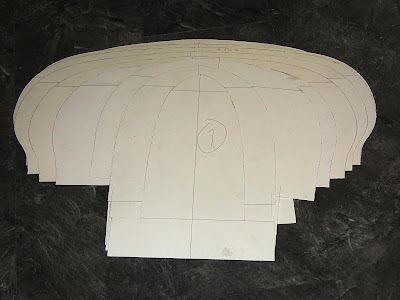
This is repeated until all 13  templates + front and back template are cut and done.
Full-scale writing printed and taped together. Ready for transfer to cardboard sheet.
 
After a couple of hours and tired fingers, all templates are ready. The next step is to draw the templates on the 12mm board. After that, the templates are sawn and grinded to exact shape.
 
All cardboard templates are ready. Just transfer to the board.

New canoe...

Time to build a new canoe. Found a delicious minimalist design on Ashes Stillwater Boats. Ashes Solo Day. A nicesolo canoe for longer trips with some packing. 4.57x0.74m about 15kg. Line drawing and some pictures from Ashe's website.