
Thursday, 31 May 2018
Inside laminated
Finally I got som time to laminate the inside. Next step will be grinding of inside and make gunnels and decks

Monday, 21 May 2018
Laminating the stems
Laminated the stems with 2 layers of glass. One wide and one narrow strip of fiberglass.
Was a little worried about the narrow stems, but it was no problem as I found a narrow silicone spatula in my kitchen.
Was a little worried about the narrow stems, but it was no problem as I found a narrow silicone spatula in my kitchen.
 |
| Pieces of Fiberglass to laminate the stems |

Redesigning strongback
The strongback undercarriage was a little to high for comfortable work, so I decided to make it adjustable in height.


Wednesday, 9 May 2018
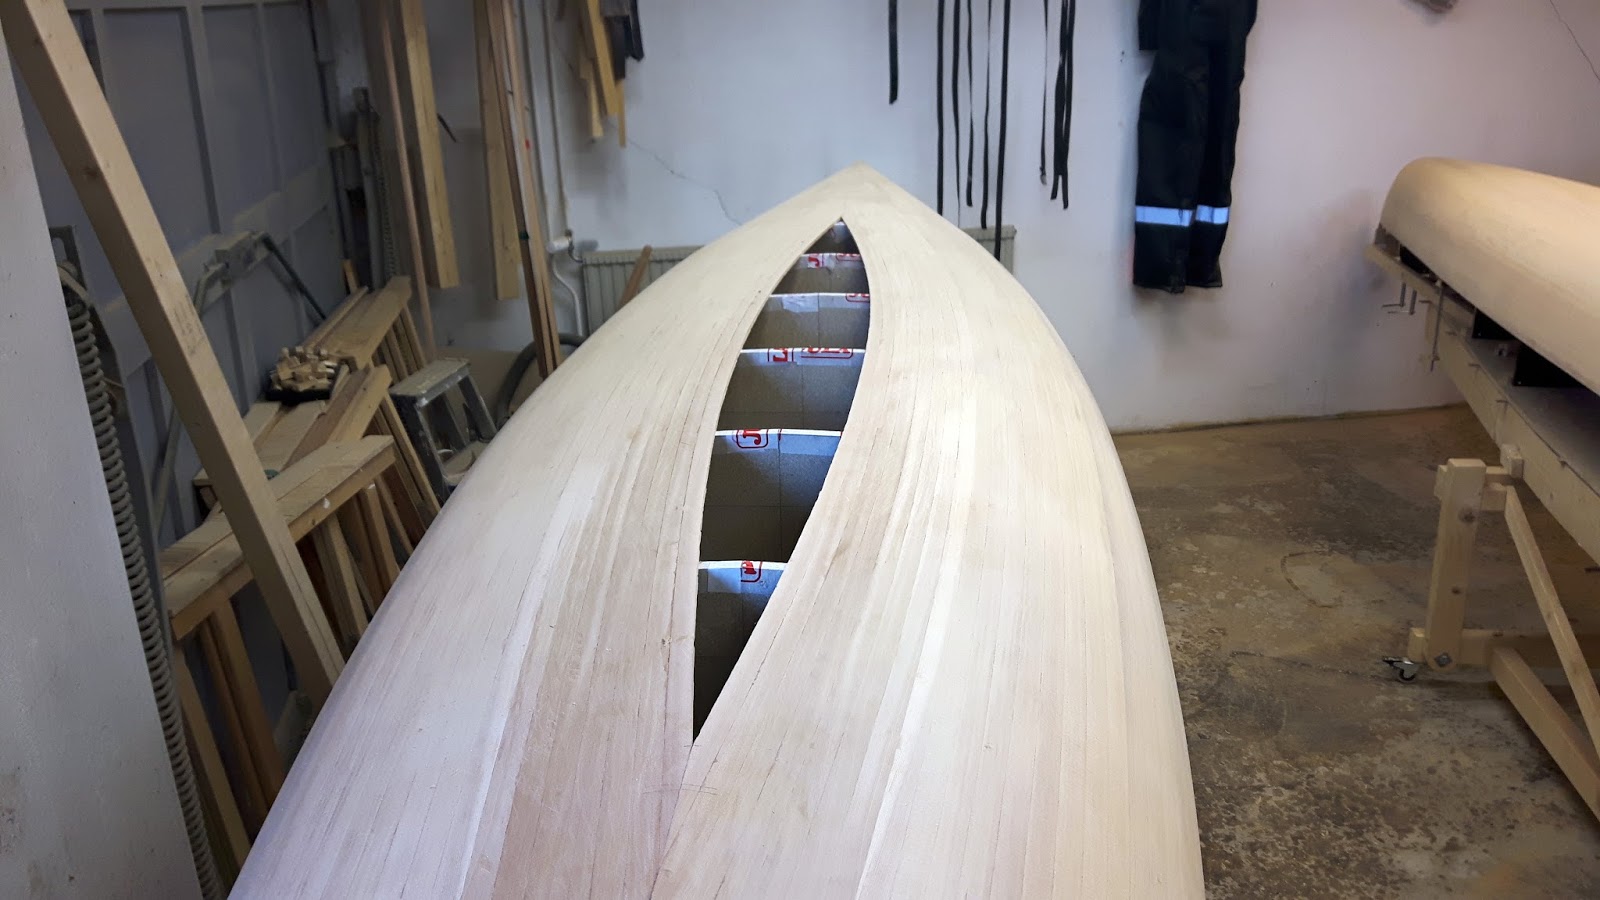
Shaving and Grinding inside
Today I turned over the hull to start with the inside. First time I see the shape of the canoe. Wonderful lines. I use a modified triangular scraper to remove glue and edges from the hull.
The scraper have rounded shape and shaves almost like a plane. Whole inside is made in less then 2 hours. After shaveing I make a final touch with the sanding block.
Hull weight is now 7,8 kg (17 lbs) The inside glasfiber layer and epoxy will add about 1,9 kg (4lbs) which is perfectly OK.
The scraper have rounded shape and shaves almost like a plane. Whole inside is made in less then 2 hours. After shaveing I make a final touch with the sanding block.
Hull weight is now 7,8 kg (17 lbs) The inside glasfiber layer and epoxy will add about 1,9 kg (4lbs) which is perfectly OK.
 |
Wonderful lines
|
 |
| Hull set up for shaveing |
 |
| Shaveing with a razor sharp scraper |
 |
| A lot of nice shaveings |
 |
| Inside ready for epoxy precoat |
Outside grinded
The normal step after laminating the hull is to add more epoxy to get an even surface.
I am not a fan of adding weight, so I prefer to grind the surface to get it smooth. I use sanding tools normally used for cars. With good quality sand paper and a light hand the surface became perfect. The dust collected in the dust collector weighted about 200 gram, so instead of adding 2-300 gram epoxy I saved about a half kilo in weight.
I am not a fan of adding weight, so I prefer to grind the surface to get it smooth. I use sanding tools normally used for cars. With good quality sand paper and a light hand the surface became perfect. The dust collected in the dust collector weighted about 200 gram, so instead of adding 2-300 gram epoxy I saved about a half kilo in weight.
 |
| Hull grinding |
 |
Hull finished for now
|
Wednesday, 2 May 2018
Outside laminated
Laminating the outer part of the hull almost ready. Started with the stems to get them as good as possible. Small pieces of twill to get a perfect fit. After stems were hardened I covered the rest of the hull. No problems exept for the fact that the Swedish standard width of the glass fibre is a little less than the width of the canoe. I will have to add a small stripe of glass fibre on the widest point.
 |
Hull ready exept for two strips of gass at the widest point.
The width of the glass was just a little to small to cover all the way. These stripswill be laminatet separately |
 |
Stems laminated and covered with peel ply to get an even surface.
The peel ply is ripped off once the epoxy is fully hardened. |
Monday, 23 April 2018
Epoxy pre-coat applied to hull
Preparations for laminating the hull. A thin pre-coat of epoxy applied to the hull. About 175 grams to cover the 5 square meters hull area. This pre-coat prevents te epoxy to soak into the wood when the thicker layer with glass and epoxy is applied.
 |
| Thin pre-coat of epoxy. Color looks nice |
Monday, 16 April 2018
Grinding of the hull completed
First step in grinding he hull is to remove all excess glue from the joints. This is made by using a triangular scraper. These ar modified to have various rounded shapes to also fit the inside of the canoe. The Titebond III excess glue comes off easily.
Rough grinding is made with the battery powered sander or by hand using sanding blocks. All sanding tools is connected to a vacuum cleaner to get rid of all the dust. Sand paper is Mirka Abranet which is superior in terms of efficiency and durability. Starting with 80 grit and finish with 240.
 |
| Scraper with various shape. Razor sharp. |
 |
| Battery powered sander connected to battery powered vacuum cleener. |
 |
| Mirka sanding block with interchangeable soles. Flat, concave or two different convex ones. |
 |
| Two hand Mirka sanding block for the large flat areas. This block is adjustable to fit both concave and convex surface |
 |
Looks OK
|
 |
Other angle
|
 |
Here is an area with both convex and concave areas. With right
tools it is not difficult to get a good result
|
Friday, 13 April 2018
Hull completed
Since last update I have now glued all strips in place and finally I put the last piece of strips into the hull. Next step is a lot of sanding.
 |
| Center strips glued into place. Cleats and pins to hold it in place |
 |
| Center piece finally aligned |
 |
| Fine adjustments of center piece |
 |
| Center piece roughly cut out to the line. |
 |
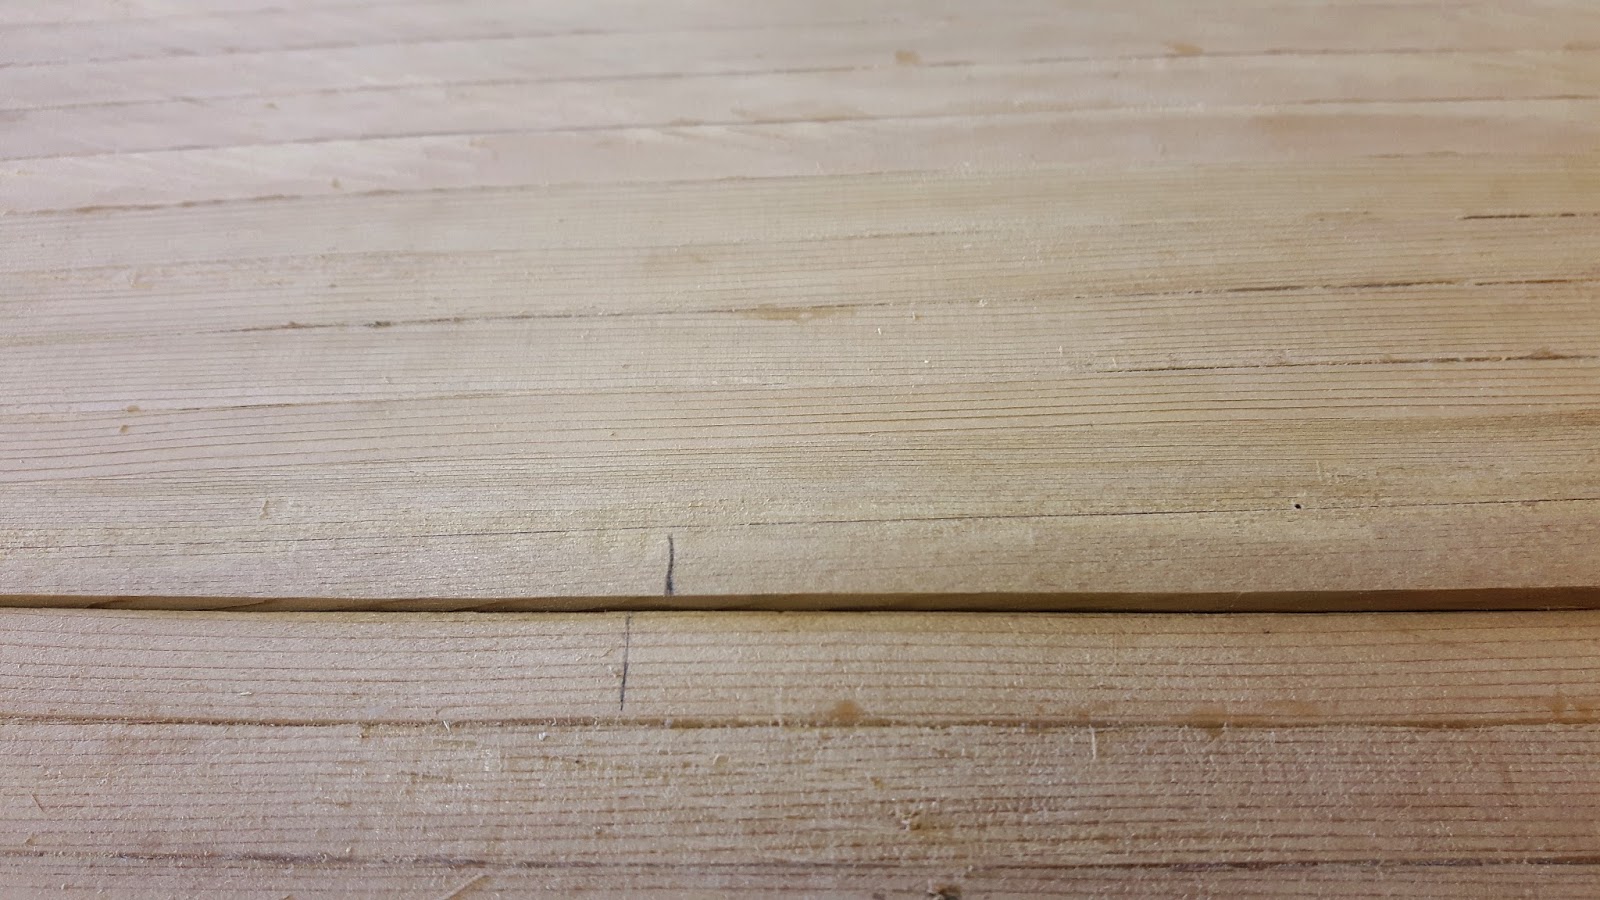
Center piece aligned and secured by pins. The outline of the
strip was now drawn with a sharp pencil from the underside |
 |
| This piece will be marked and shaped to exactly fit the hole |
 |
| Two strips with straight edges glued together |
 |
Final cove and bead strip in place. On the next strip the cove side will be
planed to a straight edge to make it possible to fit the last piece. |
 |
| Hole is smaller and smaller |
 |
| Looks OK |
 |
| Another strip |
Tuesday, 3 April 2018


Monday, 26 March 2018
After weekend update
The build continues. Another few strips mounted. The stems aligned perfectly. Just the bottom part left. More measurements and adjusting as the strips must be aligned perfectly in both ends.
 |
| Just the bottom part left |
Sunday, 18 March 2018
Another weekend in the canoe workshop.
This weekend I spent most of the time helping my friend with his canoe and kayak. Still got time to add 4 more strips to my Solo day.
 |
| Most of the side ready. about half of the strips in place. |
Tuesday, 13 March 2018
Another evening in the workshop
Ckecked the adustments from yesterday. Looks perfect. I had to put a crossbar between the hullsides to keep the hullside tight to the form. Also made a filler from fine cedar grind dust and tightbond III glue. Mix until it feels like peanut butter. Makes small gaps invisible. Finished the evening by glueing another strip to the hull.
 |
| Crossbar to keep the hullsides tight to the form |
 |
| Cedar dust and glue makes a perfect filler |
 |
| Another strip in place |
Monday, 12 March 2018
Some adjustments
Found that the hull tended to be a bit convex at form 2-3 and 12-13. There was a 4mm play between hull and form. Made reinforcement cleats and glued into place. These will be removed once the hull is laminated on the outside.
 |
| Reinforcement cleats to strighten the hull side |
 |
| Perfect fit to the form again |
 |
Looks nice after a light sanding
|
Sunday, 11 March 2018
Another day with strips.
Just put some more strips in place. The strips fits nice with the cove and bead. No gaps and just some sanding to get a nice surface.
 |
| A couple of strips ready |
 |
| Tested a light sanding. looks good. |
 |
| Some more strips added |
Saturday, 10 March 2018
Glueing strips continued and some new tools
Today I added some more strips. As I am a lazy person I am more than happy to construct tools that helps in the building process.
Clamps to hold the strip tightly to the form and a clamp to keep the strips together. Simple design but works fine. Rubber cork for friction and elasticy. The strip clamp have an o-ring to protect the edges of the cove side of the strip. Rubber cork is usually made for gaskets.
Also made a change to the front form. As I make a stemless construction I decided to make the front and rear form i two pieces with a thin spacer running half way through. This way I get a nice guide for the saw when cutting exat angle of the strip.
 |
| Clamp to hold strip to the form |
 |
| Clamp from below |
 |
| Clamp to keep strips together between forms |
 |
Strip clamp with o-ring to protect edges of the strip. Rubber cork for
elasticy and friction |
 |
| Another view. |
 |
Clamp to hold the strip tightly against form. Again rubber cork for friction.
Note the rubber cork inlay in the center piece. That i to get movement when tightend |
 |
| Another angle |
 |
| Slotted end forms to guide the saw |
 |
| Add captionSaw in action. Easy to line up. |
 |
Perfect joint. Note the rubber cork on the plastic clamp. Sits firmly to about 45
degrees angle. Original plastic just snaps off. |
Subscribe to:
Posts (Atom)